
图片来源:https://blog.selectel.ru/analiz-http-trafika-s-mitmproxy/
本文主要讲述如何使用代理服务器的方式本地调试已上线的 微信公众号内的网页。
因为已经上线了,所以不能随便在线上服务器上修改代码增加 alert 之类的代码,也不能在线上启用 debug 模式。 所以,我们要通过在本地搭建代理服务器的方式来修改服务端返回 的信息,比如:将 jssdk 的调用改为 debug 模式, 替换页面内容为本地修改后的内容等等
mitmproxy 介绍
mitmproxy is a console tool that allows interactive examination and modification of HTTP traffic. It differs from mitmdump in that all flows are kept in memory, which means that it’s intended for taking and manipulating small-ish samples. Use the ? shortcut key to view, context-sensitive documentation from any mitmproxy screen.
—— 摘自 官网
安装 mitmproxy
我们这里使用 mitmproxy 在 github 上的最新代码
$ git clone git@github.com:mitmproxy/mitmproxy.git --depth=1
$ cd mitmproxy
$ virtualenv venv
$ source venv/bin/activate
$ pip install .
$
hello word
直接执行 mitmproxy 命令就会启动一个监听 0.0.0.0:8080 的代理服务器:
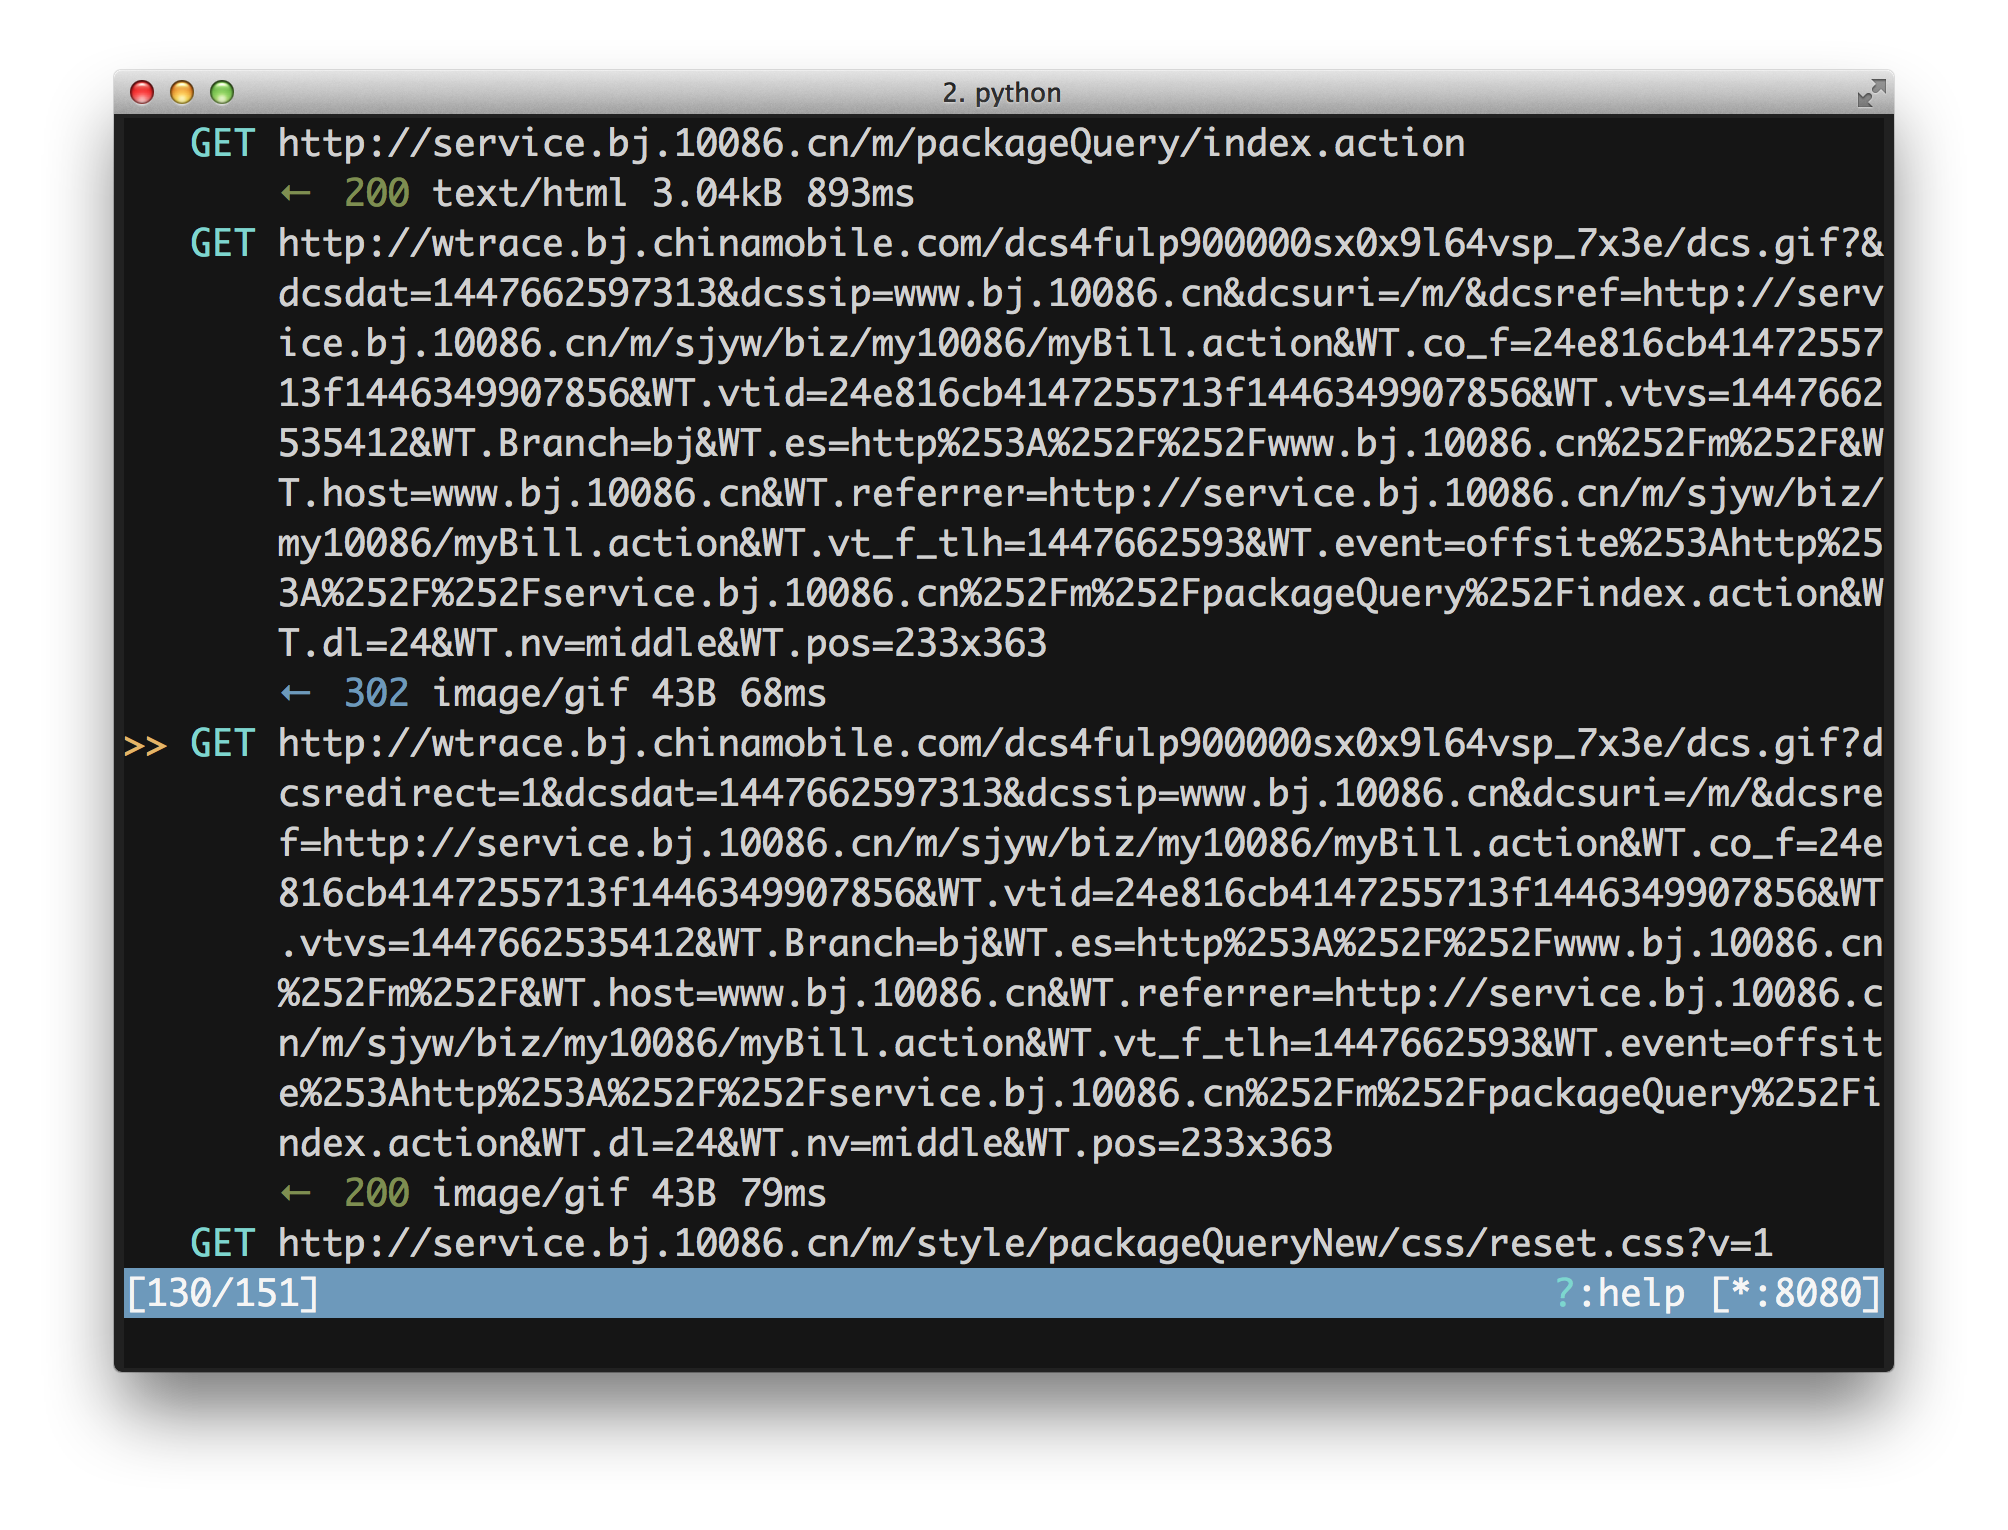
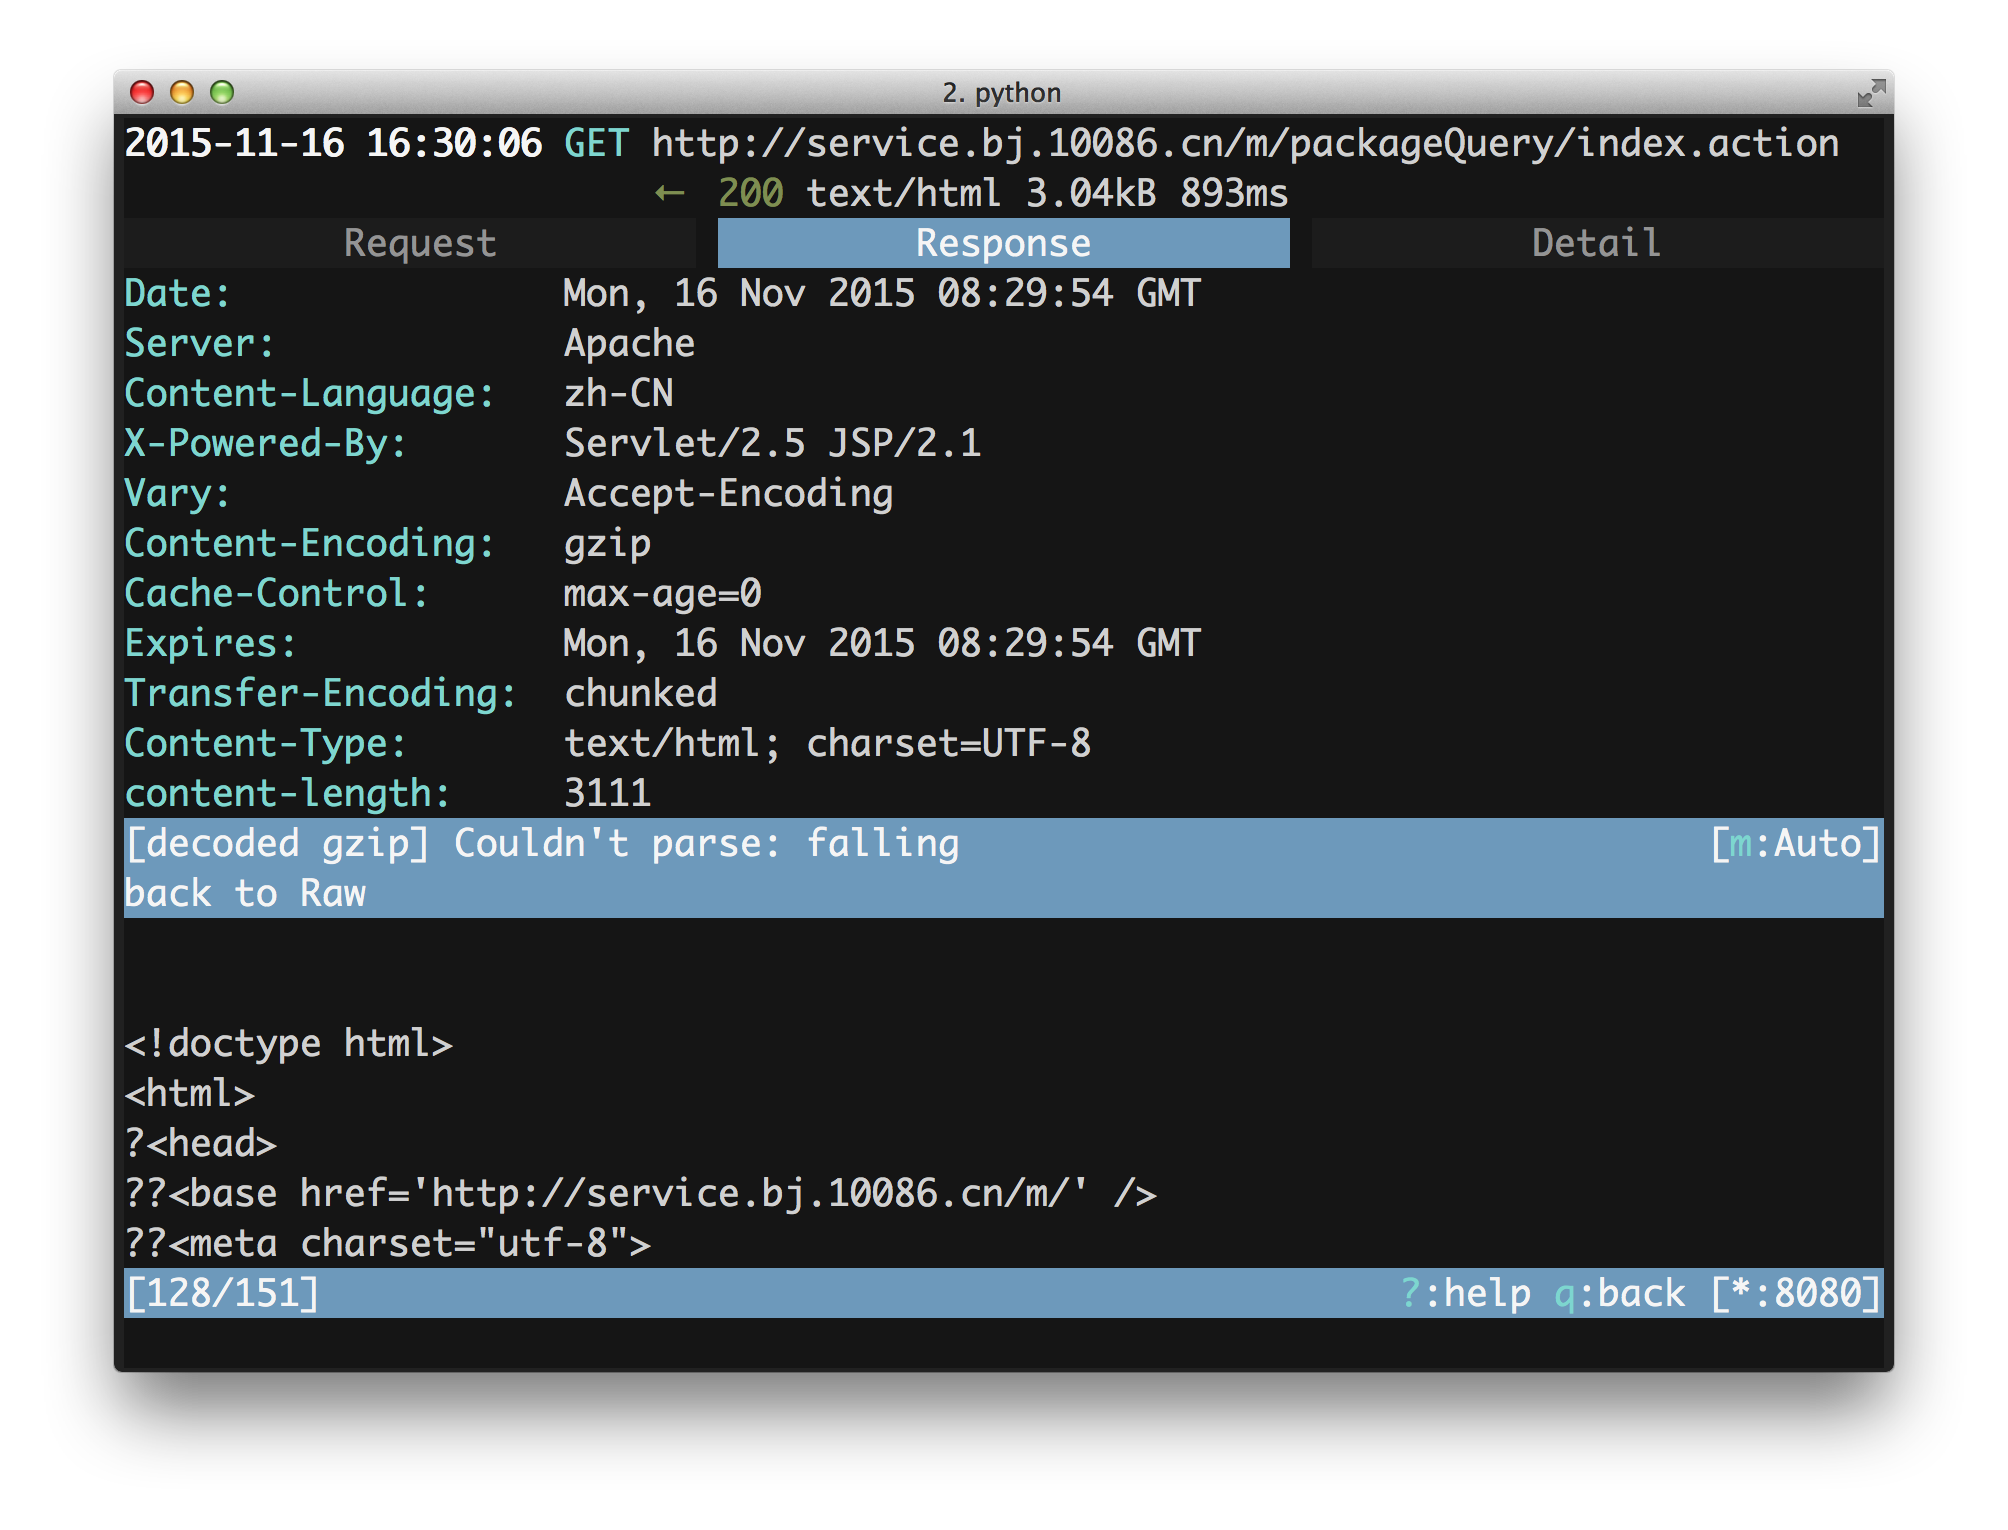
但是这个服务器不会修改任何服务器的返回内容,所以我们需要另一种启动方式 mitmproxy -s script.py
script.py 的内容如下,作用是将任意页面的响应改为 hello world :
def response(context, flow):
    flow.response.content = 'hello world'
执行 mitmproxy -s script.py 启动代理服务器,然后在手机上配置好 wifi 代理。 现在在手机浏览器上访问任意网页都将显示 hello world :)


下面我就讲几个微信开发中应该会用到的调试方式(以 “语音云开放平台”这个公众号为例)。
修改 wx.config, 将 debug 参数改为 true
上线后的公众号网页内的 wx.config 中 debug 参数的值都是 false, 既然我要调试问题自然就要开启调试模式了。
比如修改【我的应用】-【个人资料】这个页面的 wx.config。 通过 mitmproxy 搭建的代理服务器,我们找到了 wx.config 所在文件: http://wx.openspeech.cn/xfyun-wx/userInfo/xxx,查看源码发现 wx.config 的代码片段如下
<script>
if(typeof wx != "undefined"){
    wx.config({
        debug : false,
        appId : '',
        timestamp : '',
        nonceStr : '',
        signature : ''
        jsApiList : [ 'checkJsApi', 'hideMenuItems', 'hideOptionMenu',
                'showOptionMenu', 'hideAllNonBaseMenuItem','onMenuShareAppMessage','onMenuShareTimeline' ]
    });
}
</script>
知道了这个后,我们就可以修改 debug 参数了。修改后的 script.py 内容如下
import re

from libmproxy.models import decoded


def response(context, flow):
    with decoded(flow.response):
        if flow.request.path.startswith('/xfyun-wx/userInfo/'):
            body = flow.response.content
            flow.response.content = re.sub(
                r'{\s*debug\s*:\s*false,', '{debug:true,', body
            )
按 q 退出先有的代理服务器,然后重新启动代理服务器:mitmproxy -s script.py。 效果:
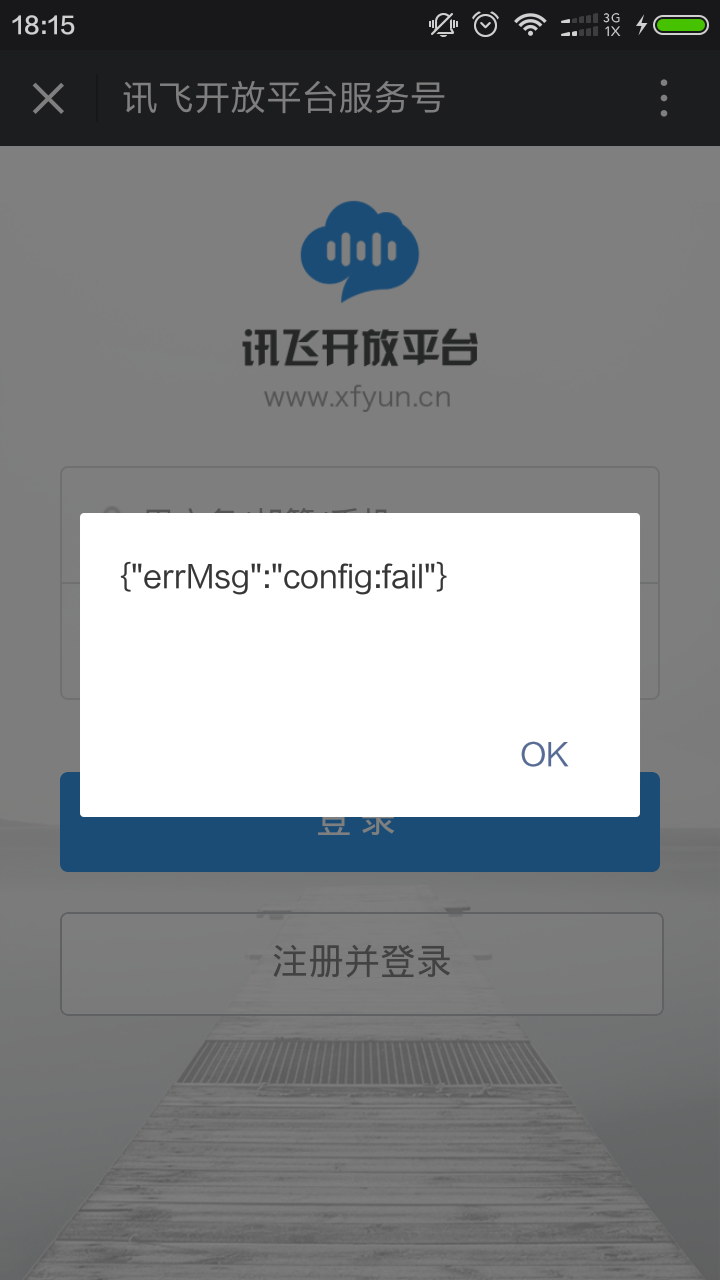
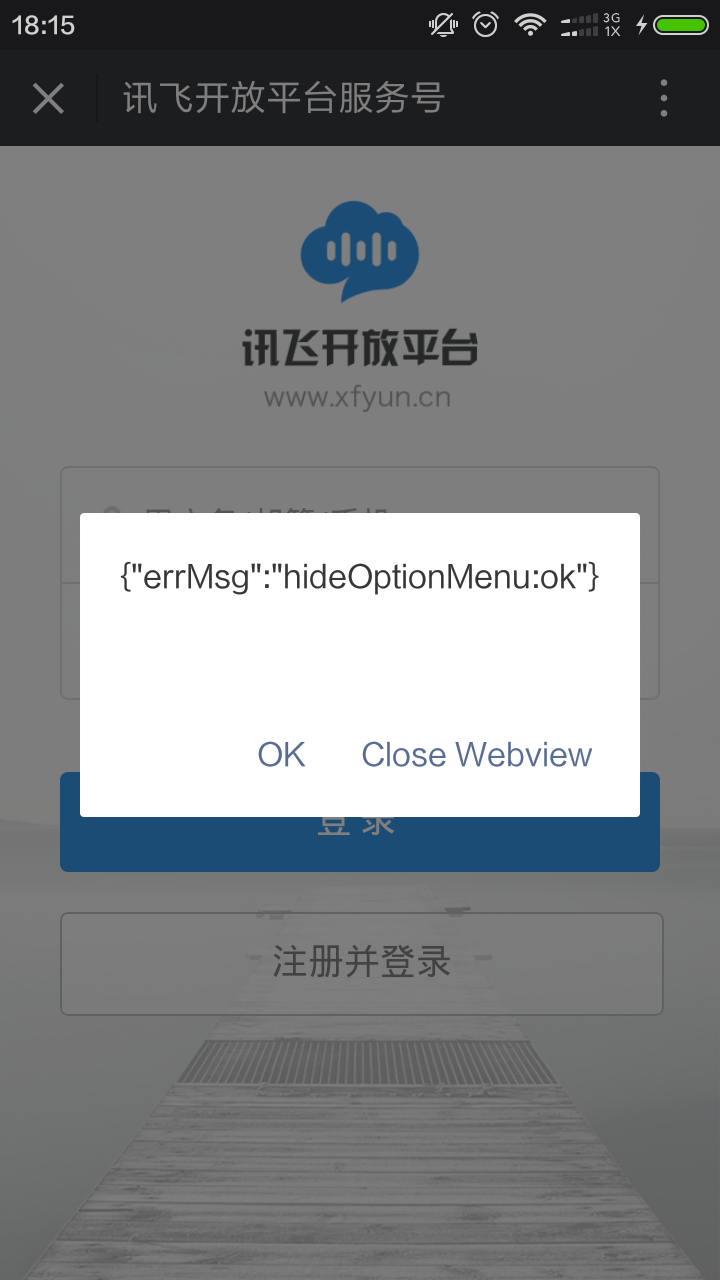
我好像帮他们发现了一个 bug ;)
下面我再举一些例子,更多例子请参考 官方仓库的 example 目录
禁用本地缓存
def request(context, flow):
    headers = flow.request.headers
    for key in ['If-None-Match', 'If-Modified-Since']:
        headers.pop(key, None)
如果这样还不行的话,可以尝试修改 response:替换 headers 以及修改 html 中与 cache 有关的 meta 标签内容。
替换为本地文件内容
def response(context, flow):
    if flow.request.pretty_url == 'http://www.baidu.com':
        with decoded(flow.response):
            with open('baidu.html') as f:
                flow.response.content = f.read()
Comments